I decided to get a compression tester to confirm the sneaking suspicion the car was developing head gasket failure again. It had already been done by Rover under warranty before my ownership. You would have thought they'd do a good job of it, but obviously not.
The compression test turned up some damning results that confirmed the head gasket was on its way out. The results are shown below;
1 - 195
2 - 195
3 - 180
4 - 200
As you can see, cylinder 3's compression is way down on cylinder 4's.
With those results I started populating the kit I'd need to do a proper job fixing it.
I ordered the following from eBay:
- Draper Cam Locking Tool - £3.60
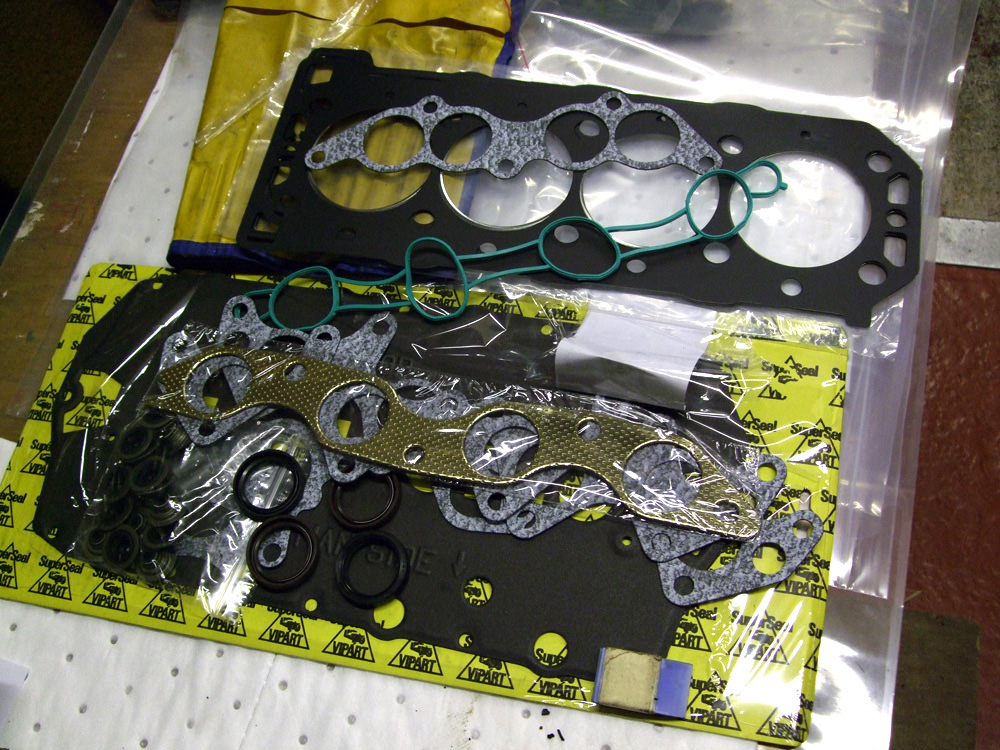
- Multi Layer Steel (MLS) Head gasket repair kit - £117.26
- MLS Gasket
- Additional Saver Shim coated with heat activated bonding agent
- Directional oil seals and valve stem seals
- Steel locating dowels
- 10x Stretch bolts
- Additional gaskets required
- Water pump and Continental Timing Belt - £61.93
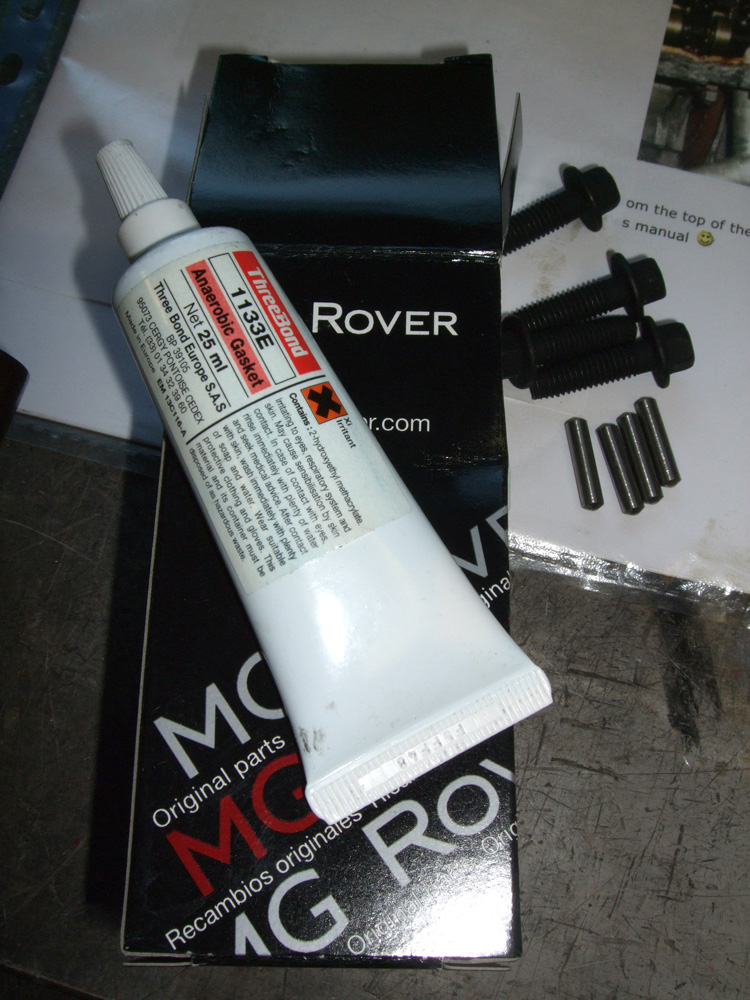
- MG Rover Cam Carrier Sealant - £6.24


With all the kit ordered and delivered, work got under way. First thing to do was to get the engine stripped down and the head off.


With the head off I could analyse the head gasket and confirm that it was indeed gone. As you can see from the photos below the gasket has started to break down. You can see the orange elastomer has started to melt in quite a few places.


With the head off I started removing the tappets and bagging them individually, numbering which position and which side they came from so as to return everything back to it's original location. The valves also got the same treatment.

Whilst the head was off for skimming, I started refurbishing the tappets. All 16 were taken apart and cleaned in white spirits, dried, then refilled with brand new oil.


I also checked the variance in the head surface, in places I could get a 002 shim under a straight edge placed across the head.

With the head off I started removing the tappets and bagging them individually, numbering which position and which side they came from so as to return everything back to it's original location. The valves also got the same treatment.


Whilst the head was off for skimming, I started refurbishing the tappets. All 16 were taken apart and cleaned in white spirits, dried, then refilled with brand new oil.


Whilst being skimmed, the head got cleaned up a bit too. Here's how it looked before and after the work was done.


Whilst the cam carrier was off that got cleaned up too. Carefully, the cam carrier sealant was squeezed on and spread out across the face.


Sealant on, the cam carrier could also be put in place, and all the bolts tightened up in the specific sequence.

Unfortunately I didn't get any more photos than this, however, the engine got put back together successfully, all new parts went on ok too.
On the first firing up the engine revved up to the red line, so it was quickly turned off. Second time round it was fine.
After the work was the done the engine ran so smoothly and quietly, it held its water and wasn't smoking. A complete success, and after a test drive the car was feeling better than ever. Despite the hard work, and shelling out just over £250, it was more than worth it to get the car back into excellent running condition.
Final thing to do was add the timing belt sticker and fill in the mileage and date. As you can see, it's taken me a little while to type this up!

Before (left) - After (right)


Now the head is back I could start rebuilding it, first up was lapping the valves back in.


Now that the valves were back in, the rebuild could start. The block was cleaned up a little and all the old coolant dried up, also the tappets were replaced.


Sealant on, the cam carrier could also be put in place, and all the bolts tightened up in the specific sequence.

Unfortunately I didn't get any more photos than this, however, the engine got put back together successfully, all new parts went on ok too.
On the first firing up the engine revved up to the red line, so it was quickly turned off. Second time round it was fine.
After the work was the done the engine ran so smoothly and quietly, it held its water and wasn't smoking. A complete success, and after a test drive the car was feeling better than ever. Despite the hard work, and shelling out just over £250, it was more than worth it to get the car back into excellent running condition.
Final thing to do was add the timing belt sticker and fill in the mileage and date. As you can see, it's taken me a little while to type this up!
